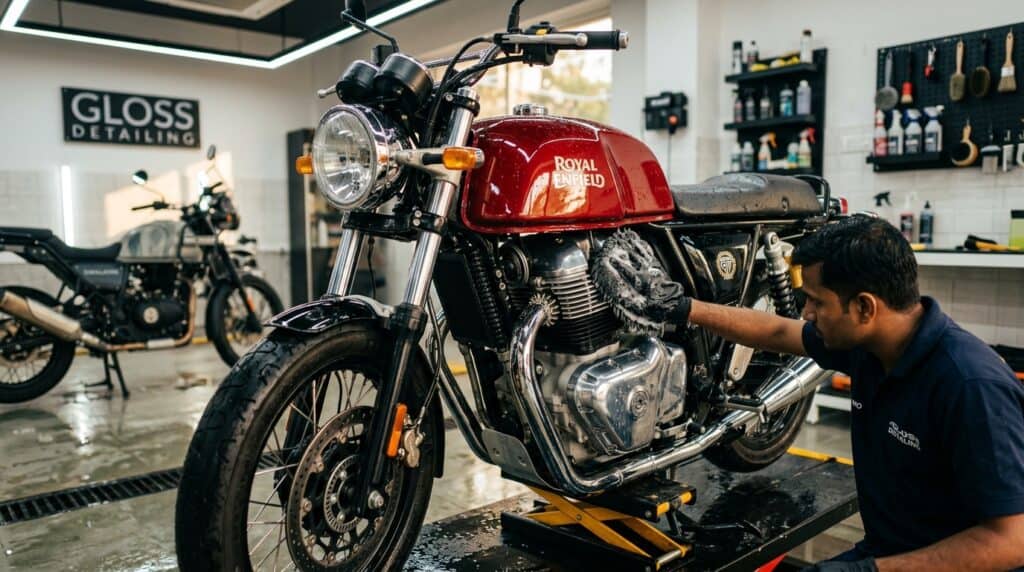
Quick answer: wash gently, then check the bike
Wash a cool motorcycle in shade with a gentle rinse, clean tools and a cleaner approved for its surfaces. Keep wheel and chain grime separate from bodywork. Rinse away residue, dry thoroughly, care for the chain if fitted, and check the brakes before returning to the road.
Your motorcycle’s manual takes priority over a general wash routine. It identifies sensitive openings, finish restrictions and drivetrain maintenance. Honda’s washing instructions, for example, specify low-pressure water and warn against directing it into the air cleaner, exhaust and electrical parts.
Before you start
- Park securely on firm, level ground in shade. Switch the engine off and let the engine, exhaust and brakes cool.
- Check the manual for your paint finish, screen, drivetrain and any accessories. Locate the air intake and exposed electrical connections.
- Prepare clean water, an approved wash solution, a soft mitt and drying cloths. Keep wheel and chain tools separate.
- Close the fuel cap and storage compartments. Remove loose belongings and unplug accessories as their instructions require.
- Keep chain lubricant, wax and dressings away from the brake system and all surfaces you rely on for grip.
When does your motorcycle need washing?
Use its condition and your riding environment to decide. Remove mud, coastal salt and road grime promptly rather than letting them build up. A bike used in wet or dusty conditions needs attention sooner than one stored under cover. Avoid rubbing loose grit across dry paint.
A clean bike also makes leaks, damaged hoses and loose parts easier to notice. Washing does not replace the inspection and maintenance schedule in your manual.
Choose tools and cleaners for the surface
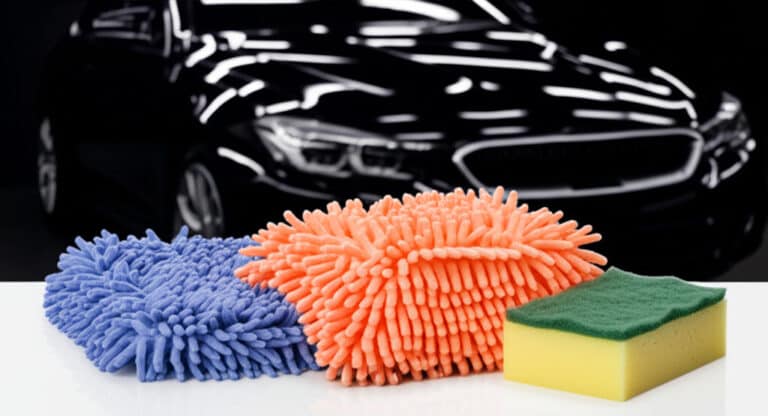
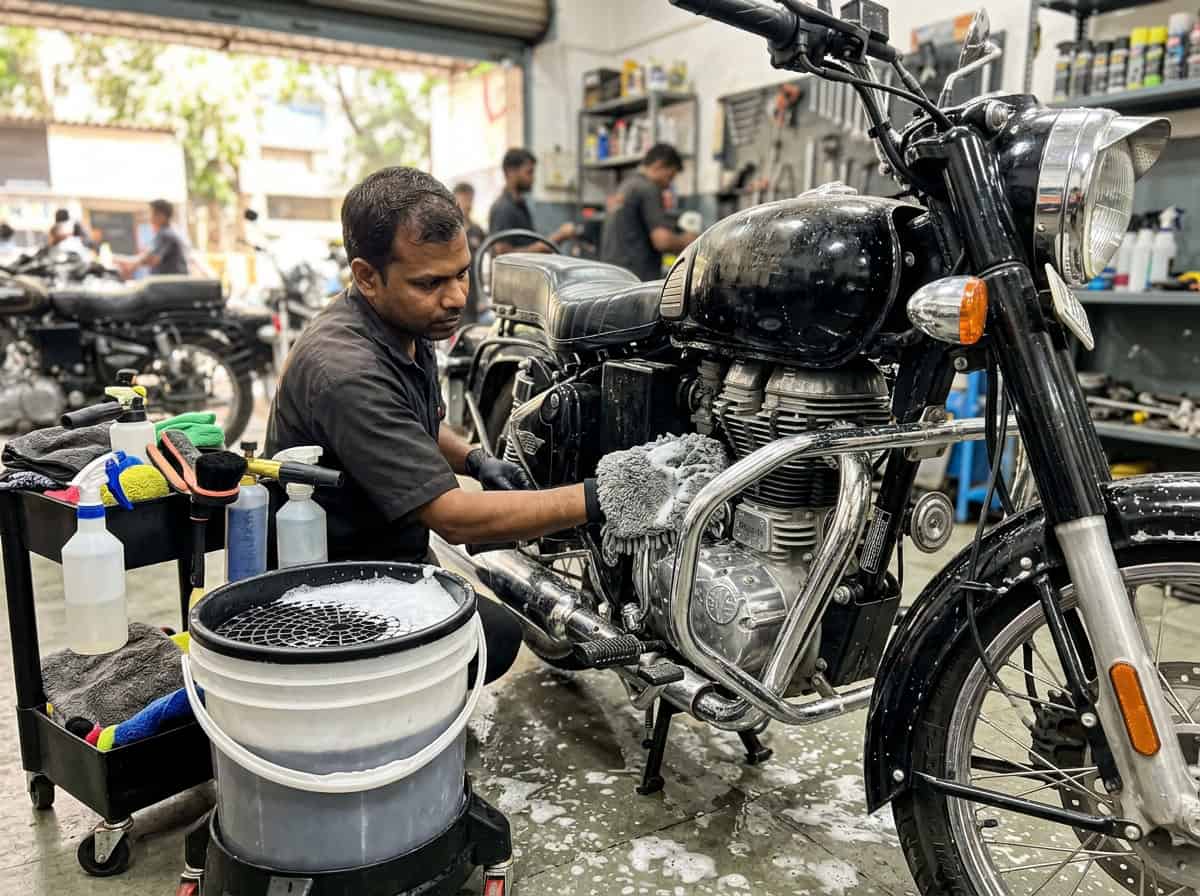
Use a soft wash mitt or sponge, separate tools for dirty areas, and clean drying cloths. Two buckets help keep rinse water separate from the wash solution. Replace dirty rinse water as you work.
Select a cleaner whose label and your motorcycle manual permit use on the relevant finish. A pH-neutral label alone does not establish suitability for matte paint, wraps, coated plastics or every screen. Follow the stated dilution and rinse instructions; do not invent a stronger mix. Keep household detergents and general degreasers out of the routine unless the manufacturer specifically permits them.
How to wash a motorcycle at home
1. Park in shade and let the bike cool
Give hot components time to cool before water or cleaner touches them. Keep the engine off throughout washing and chain work. Use a secure stand on level ground.
2. Rinse loose dirt gently
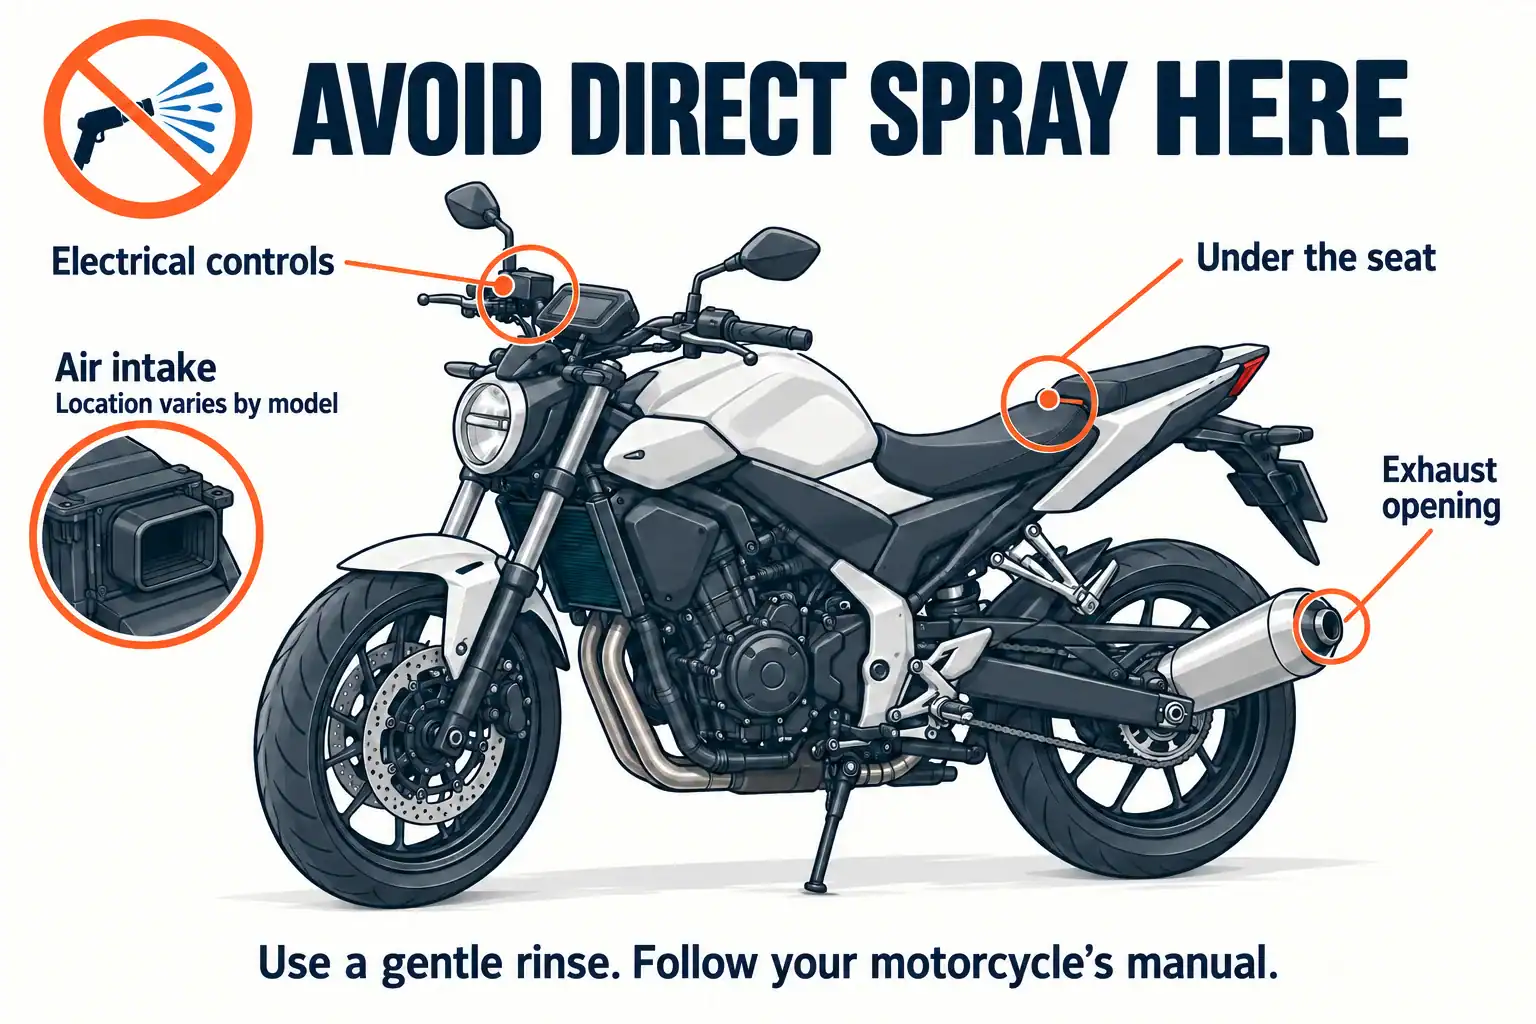
Use a low-pressure hose or water poured gently from a container. Soften dirt before touching the paint. Avoid directing water into the exhaust outlet, air intake, electrical controls and under-seat spaces. Do not force water at seals, bearings or delicate radiator fins.
3. Clean wheels and lower areas separately
Use dedicated tools for the wheels, mudguards and lower engine area. Keep brake dust and oily residue away from the mitt used on the tank and panels. Follow the wheel-finish instructions and keep cleaners away from brake friction surfaces unless specifically approved for that use.
4. Clean the chain only if your drivetrain requires it
Skip this step on belt- or shaft-driven motorcycles. For a chain-driven bike, follow its manual and the chain manufacturer’s directions. Sealed O-ring or X-ring chains need compatible products and methods; do not assume a general degreaser is suitable.
Keep the engine off. Never use engine power to turn the rear wheel while cleaning or lubricating the chain. If repositioning is needed, use the safe method in your manual and keep hands clear of sprockets. The Honda CBF125M manual specifies O-ring-compatible care and warns against wire brushes, pressure cleaning and incompatible solvents.
5. Wash bodywork from top to bottom
Use the clean mitt on the tank, panels and tail, starting with cleaner areas. Rinse it often and do not let the wash solution dry on the surface. Use a separate soft brush for accessible crevices without pushing water into switches or connectors.
6. Treat glass, screens and visors separately
A glass mirror, plastic windscreen and helmet visor can need different care. Check the material and any coating before choosing a cleaner. Do not carry a glass-cleaner recommendation over to plastic.
For a plastic windscreen, start with water and a clean soft cloth, then follow its own instructions for stubborn dirt. Honda’s windscreen guidance warns about chemical damage. Clean a helmet visor separately with the method its manufacturer specifies; SHOEI’s care guidance excludes glass cleaner and solvents.
7. Rinse away the wash solution
Use controlled, gentle water flow and rinse away residue. Recheck the sensitive areas shown above instead of holding a jet on them.
8. Dry with clean cloths
Dry the bodywork and accessible gaps without rubbing grit over the finish. Use a different cloth around oily areas. Let remaining moisture drain and dry before covering or storing the bike.
9. Lubricate a chain as the manufacturer directs
If your bike has a chain, dry it and apply the specified lubricant using the manual’s method and the product label. Keep the engine off. Control overspray and remove excess as directed so it cannot reach the tyre or brakes. Belt and shaft drives do not receive chain lubricant.
10. Inspect the bike and check the brakes
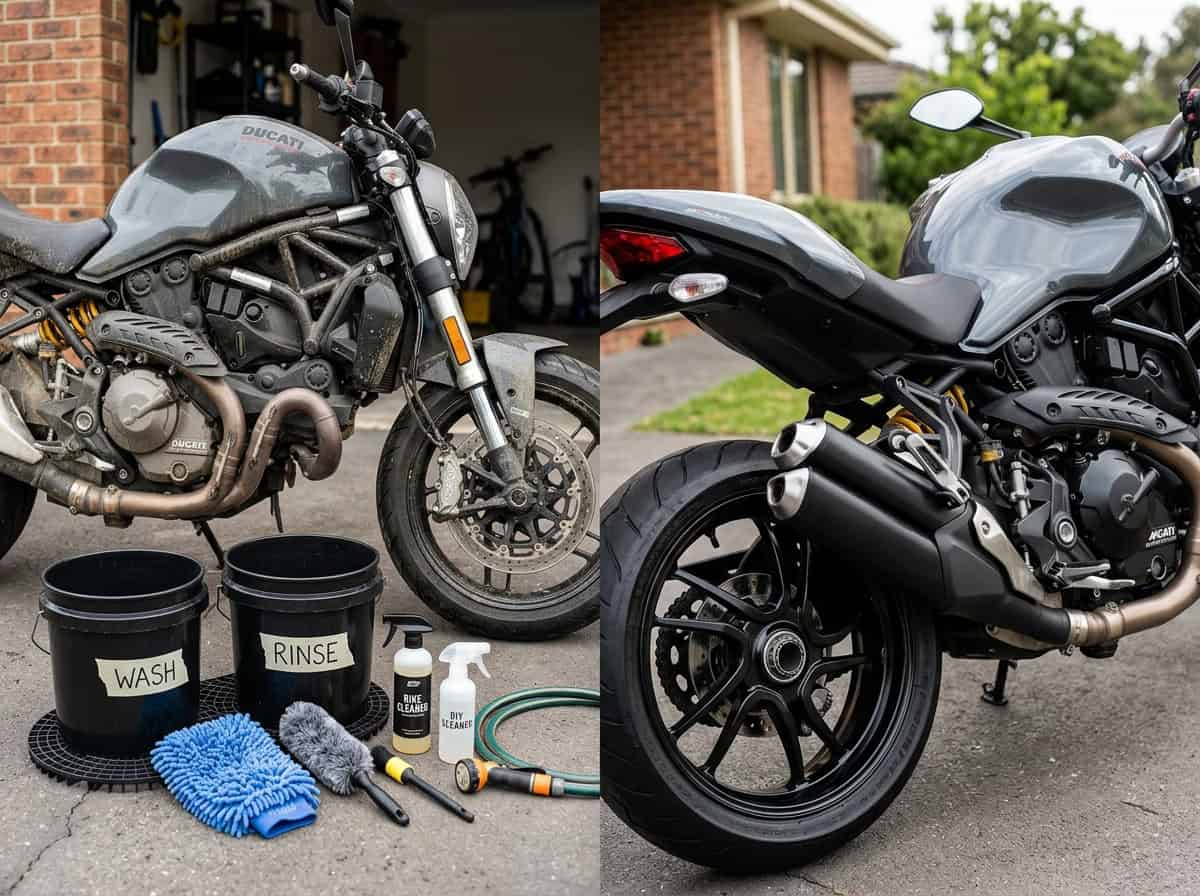
Check for leaks, damage and loose parts. Confirm the controls, seat and tyre tread are clean and free of slippery residue. Follow the normal pre-ride checks in your manual.
Water can reduce braking effectiveness. After the static checks, follow your manual’s post-wash brake procedure in a safe, traffic-free place. Honda instructs intermittent brake application at low speed to help dry the brakes. Confirm normal braking before normal road speeds.
Should you use a pressure washer?
Use the gentle method above for a home wash. Follow any prohibition in your manual; Honda’s washing guidance says not to use a high-pressure washer. A wider nozzle or greater distance does not override that instruction.
Does it need polish or dressing afterwards?
A wash does not require a shine product. Use a protectant only when it is approved for the particular surface and finish. Do not wax or polish matte paint unless its manufacturer explicitly permits that treatment, and keep products away from braking and grip surfaces. A clean, dry bike with normal controls and brakes is the finish to aim for.
Final check before riding
- Wash residue is rinsed away and the bike is dry enough to inspect.
- Tyre tread, seat, grips and foot controls are free of slippery residue.
- Chain care, if needed, follows the manual with no lubricant on tyres or brakes.
- Controls feel normal; no leaks, loose parts or suspected brake contamination remain.
- The manual’s post-wash brake check is complete. Stop and arrange inspection if braking is abnormal.
Tools for this wash
A clean mitt and a separate drying cloth cover the contact-wash and drying steps. Choose chemicals only after checking your motorcycle and product instructions.
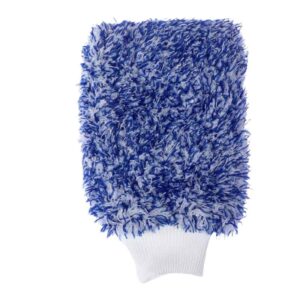
Microfiber Car/Bike Washing Mitt Cleaning Glove
Contact washing of pre-rinsed body panels.
Use and compatibility: Use on cool, compatible bodywork with the cleaner your manual allows. Rinse the mitt often; keep wheel and chain grime off it.

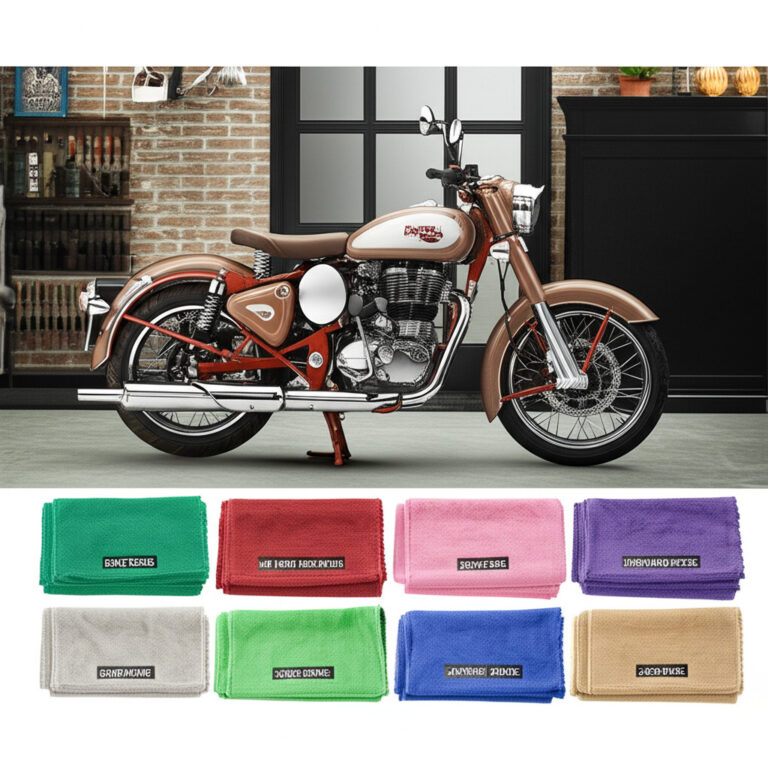
600 GSM Double Side Microfiber Cloth (Pack 1)
Drying and finishing clean bodywork.
Use and compatibility: Use a clean cloth on cool surfaces. Keep separate cloths for wheels and chain work; turning a dirty cloth over does not prevent contamination. Follow separate screen and visor instructions.
Team Motor Headz
Behind this guide
Motor Headz publishes practical car and bike care guides, covering washing, paint care and choosing products for your finish. Our guides explain compatibility, application steps and product limits to help you make an informed choice.
Motor Headz publishes this guide and sells car and bike care products. Links to our store are not independent recommendations.